Hi friends, thanks for visiting our blog! While you're here be sure to sign up for our newsletter to receive other free tools and resources for filmmakers! Welcome to the Echo family!
...
What is an anamorphic lens? The term anamorphic is derived from the Greek word anamorphōsis which means transformation.
In production, two classes of lenses are most common: spherical and anamorphic. Most anamorphic lenses are just spherical lenses with additional glass elements that compress the output. This glass also reduces light transmission and introduces some distortion.
Spherical lenses project circular images onto the camera sensor without affecting their aspect ratio. While anamorphic lenses, project an oval shaped version of the image that is horizontally compressed...this image is then uncompressed in post...and you end up with an image that is stretched horizontally but not vertically.
So in short: Anamorphic lenses squeeze your image into the frame...and when the image is de-squeezed in post...you’ll have a wide screen with a tight crop.
If you do a little research, you’ll probably find that most of your favorite directors are partial to anamorphic lenses.
Weirdly enough, anamorphic lenses are actually known and used for their “imperfections” or quirks. Anamorphic flares are typically stretched horizontally and there is a noticeable vertical stretch to items that are out of focus. Bokeh is typically oval in shape. These lenses offer really shallow depth of field. Images in the foreground stand out from the background so much that they almost look 3d. Anamorphic lenses also tend to warp the sides of an image just a little. Because of this they sort of force you to put what’s important towards the center of the frame. (Ex: Wes Anderson)
If you’d like to mimic that vertically stretched bokeh and a few JJ Abrams lens flares, in your own work, you can easily make an aperture disk to achieve the effect... We decided to test out this tutorial by MJ Production: https://www.youtube.com/watch?v=W5xI5hwL8rw and then added our own flair by testing several different filament options.
All you will need is:
DSLR
50mm lens
Clear Lens filter
Black poster board
Fishing line
Ziplock bag
Compass
measuring stick
Scissors
Glue
Tape
X-acto knife

First measure the width of your lens filter.
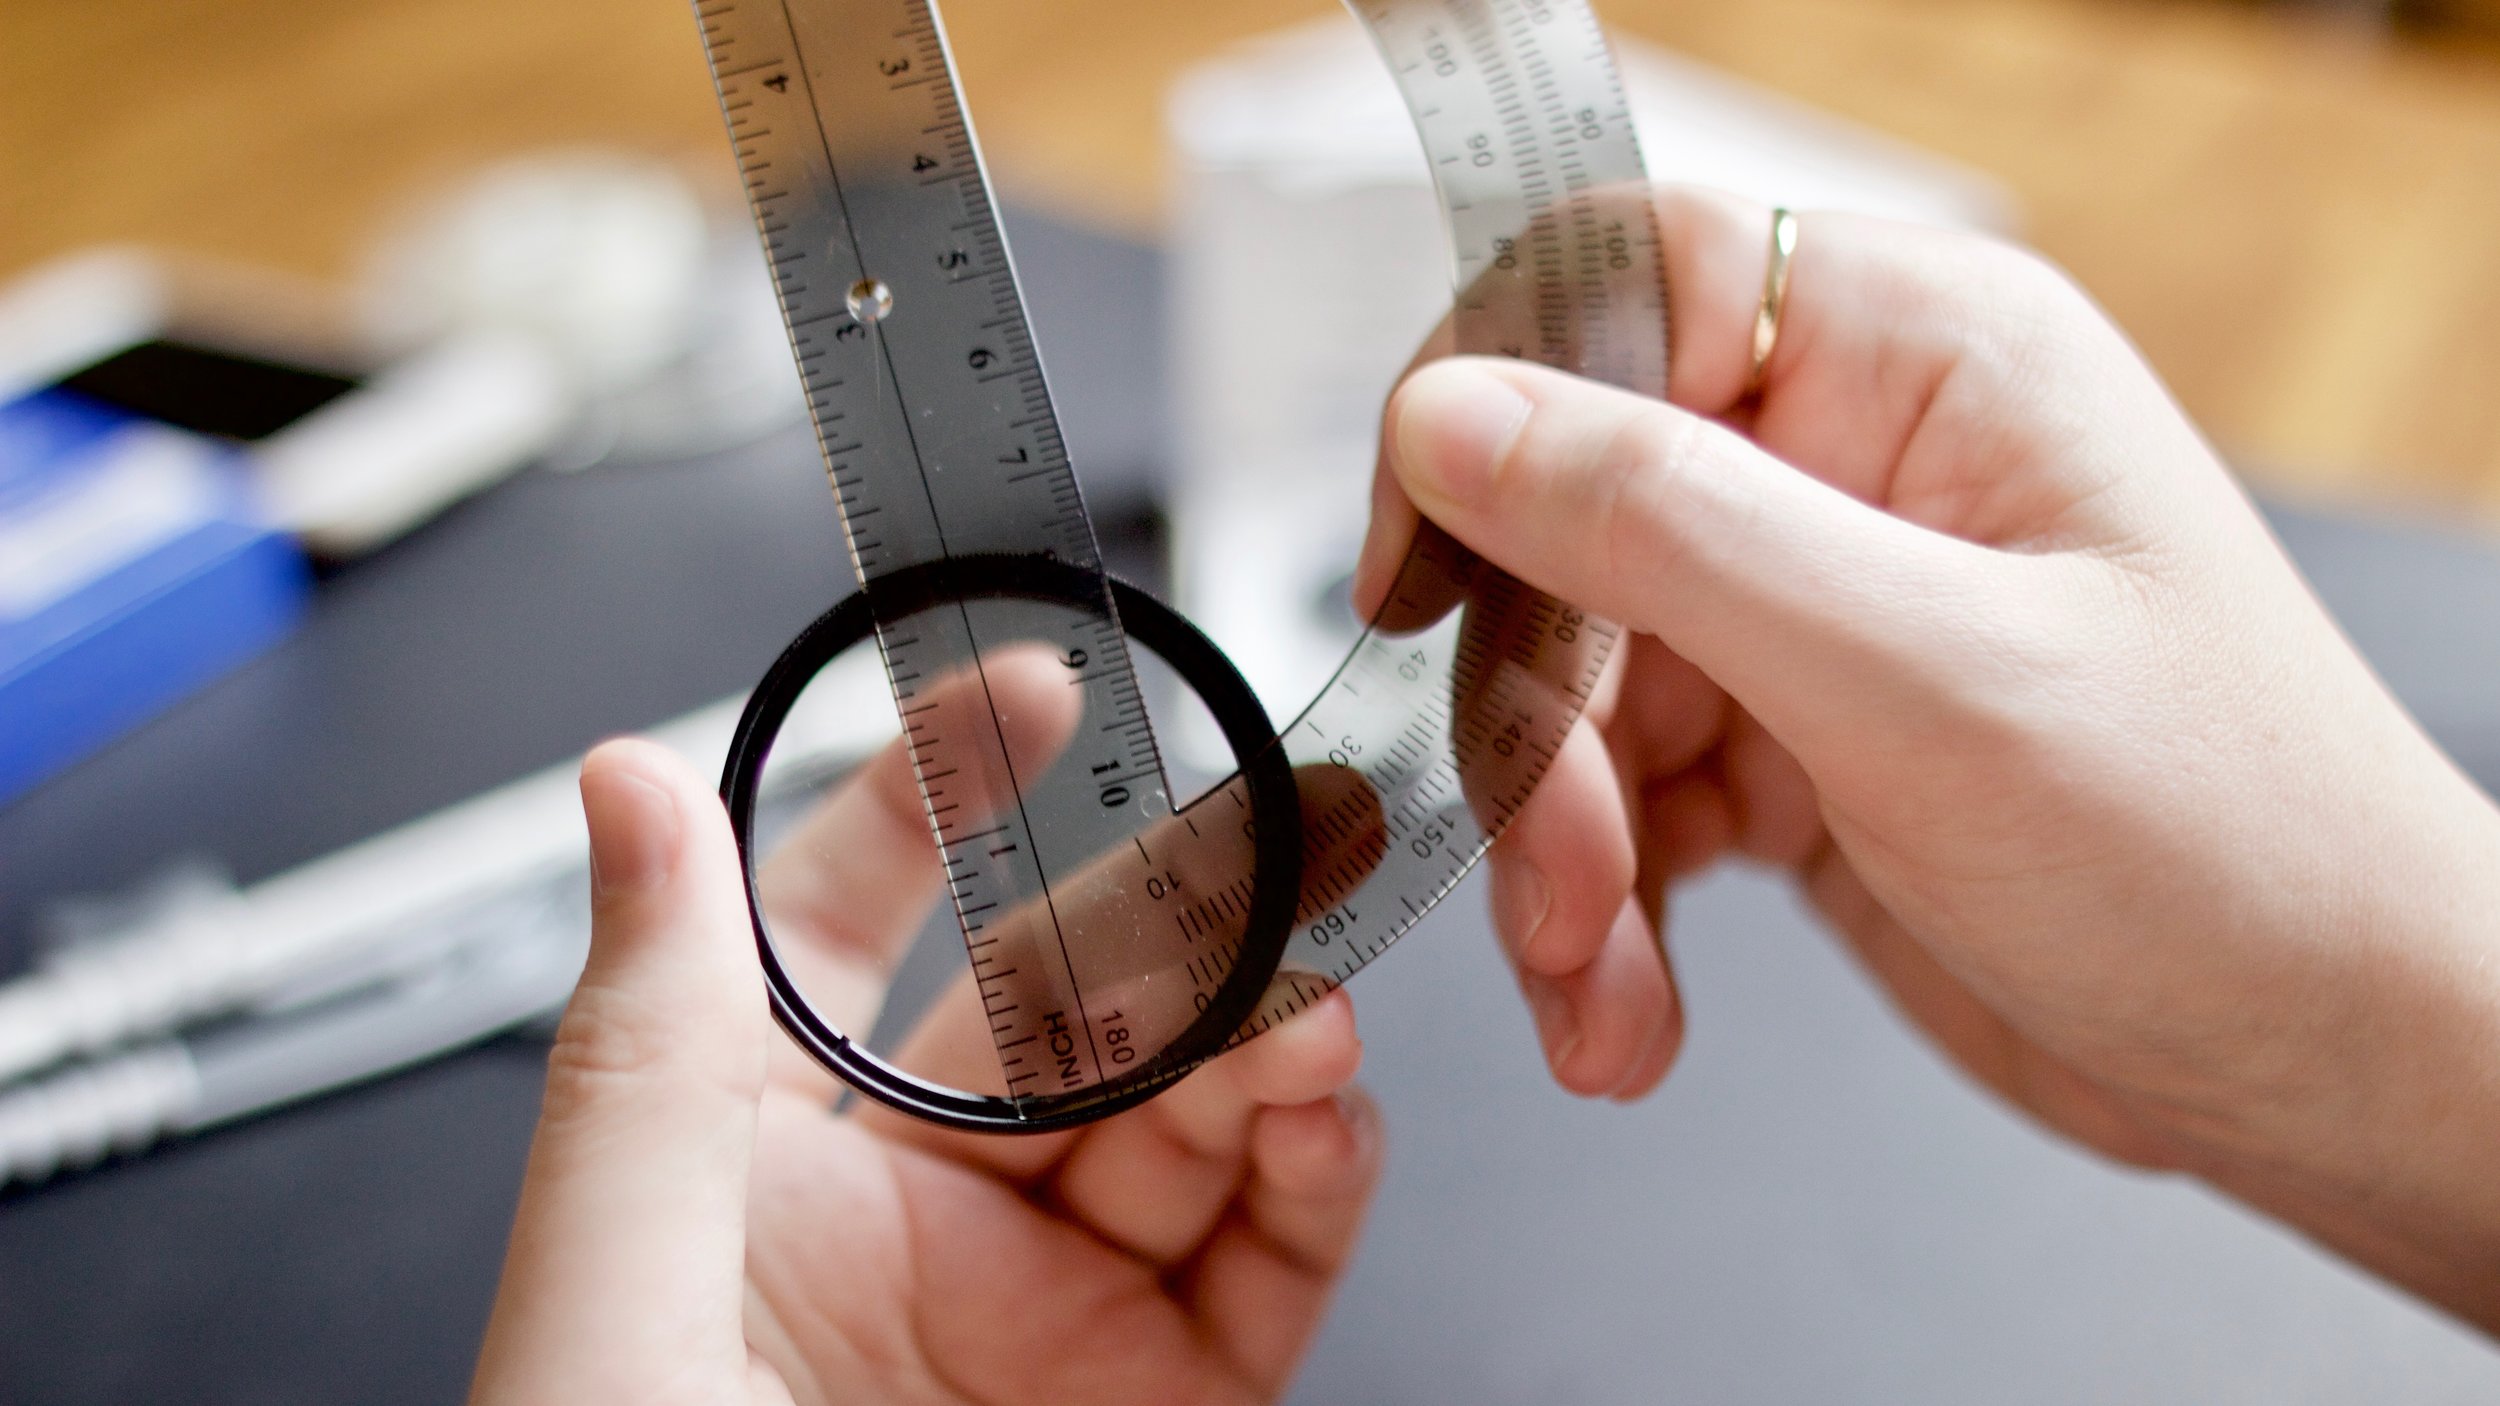
Set your compass to 1/2 that width and draw a circle on your black poster board.


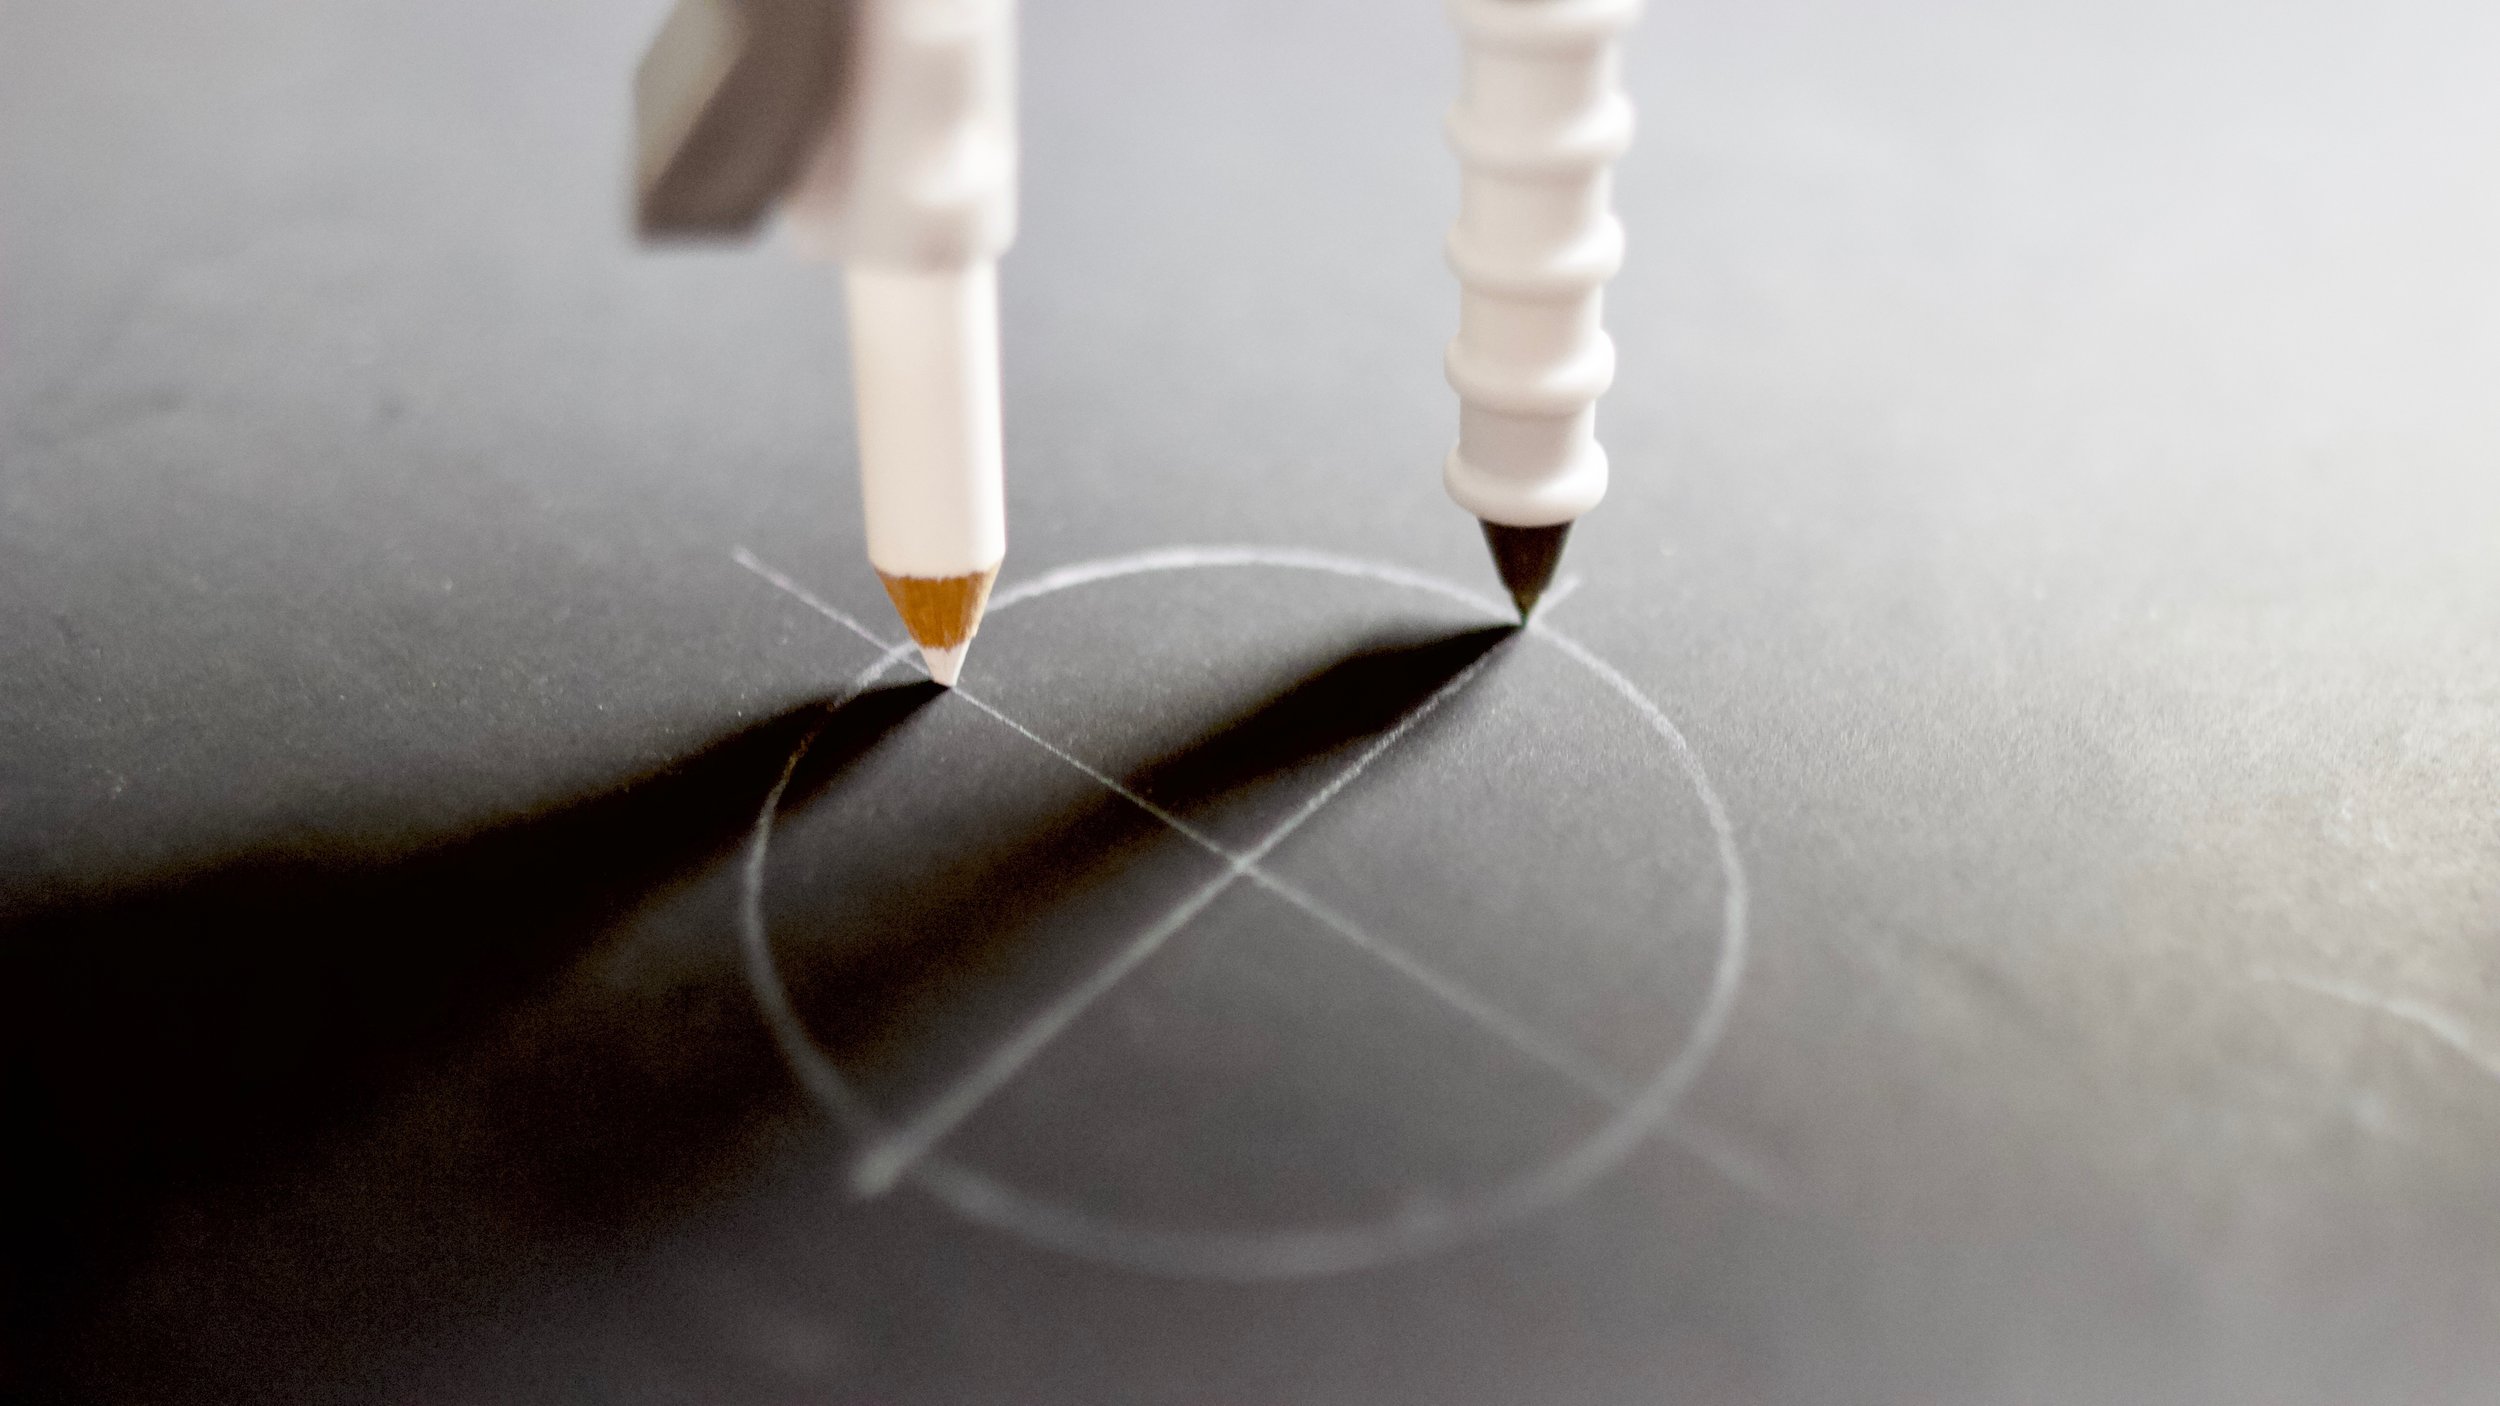
Draw two intersecting lines through the circle.


Resize your compass by placing it on the edge of the circle and extending the pencil end to nearly the top of the circle. Draw two parabolas.


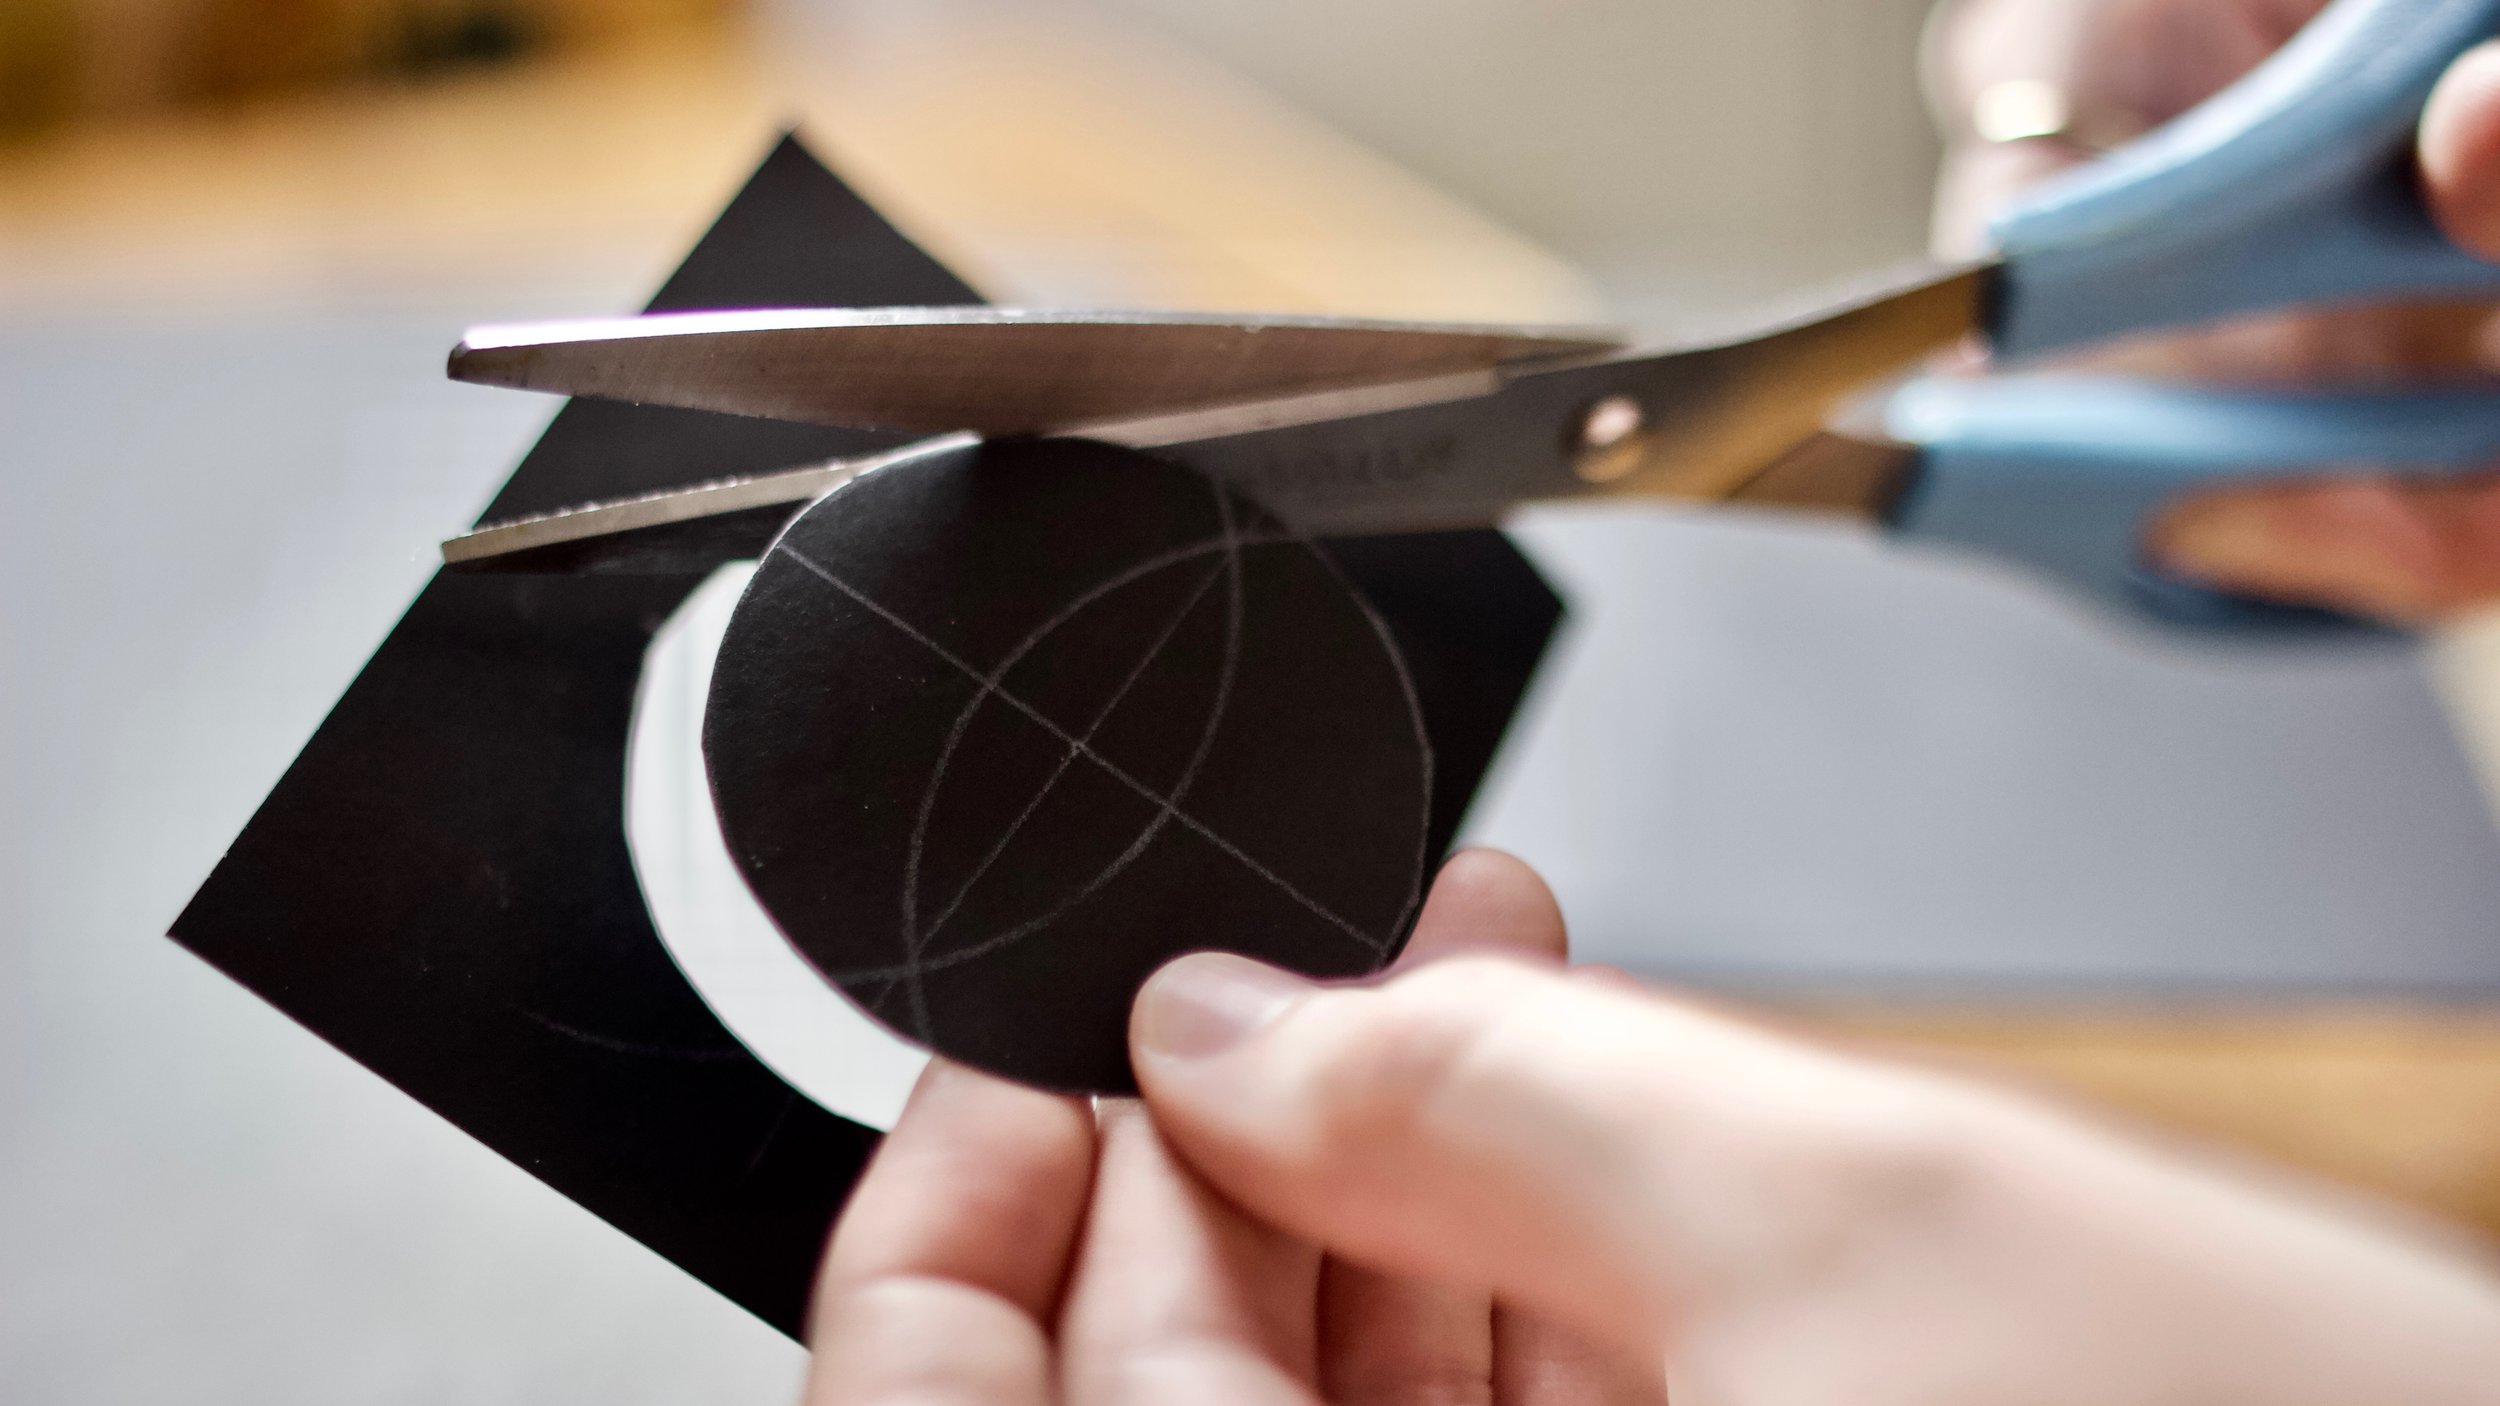
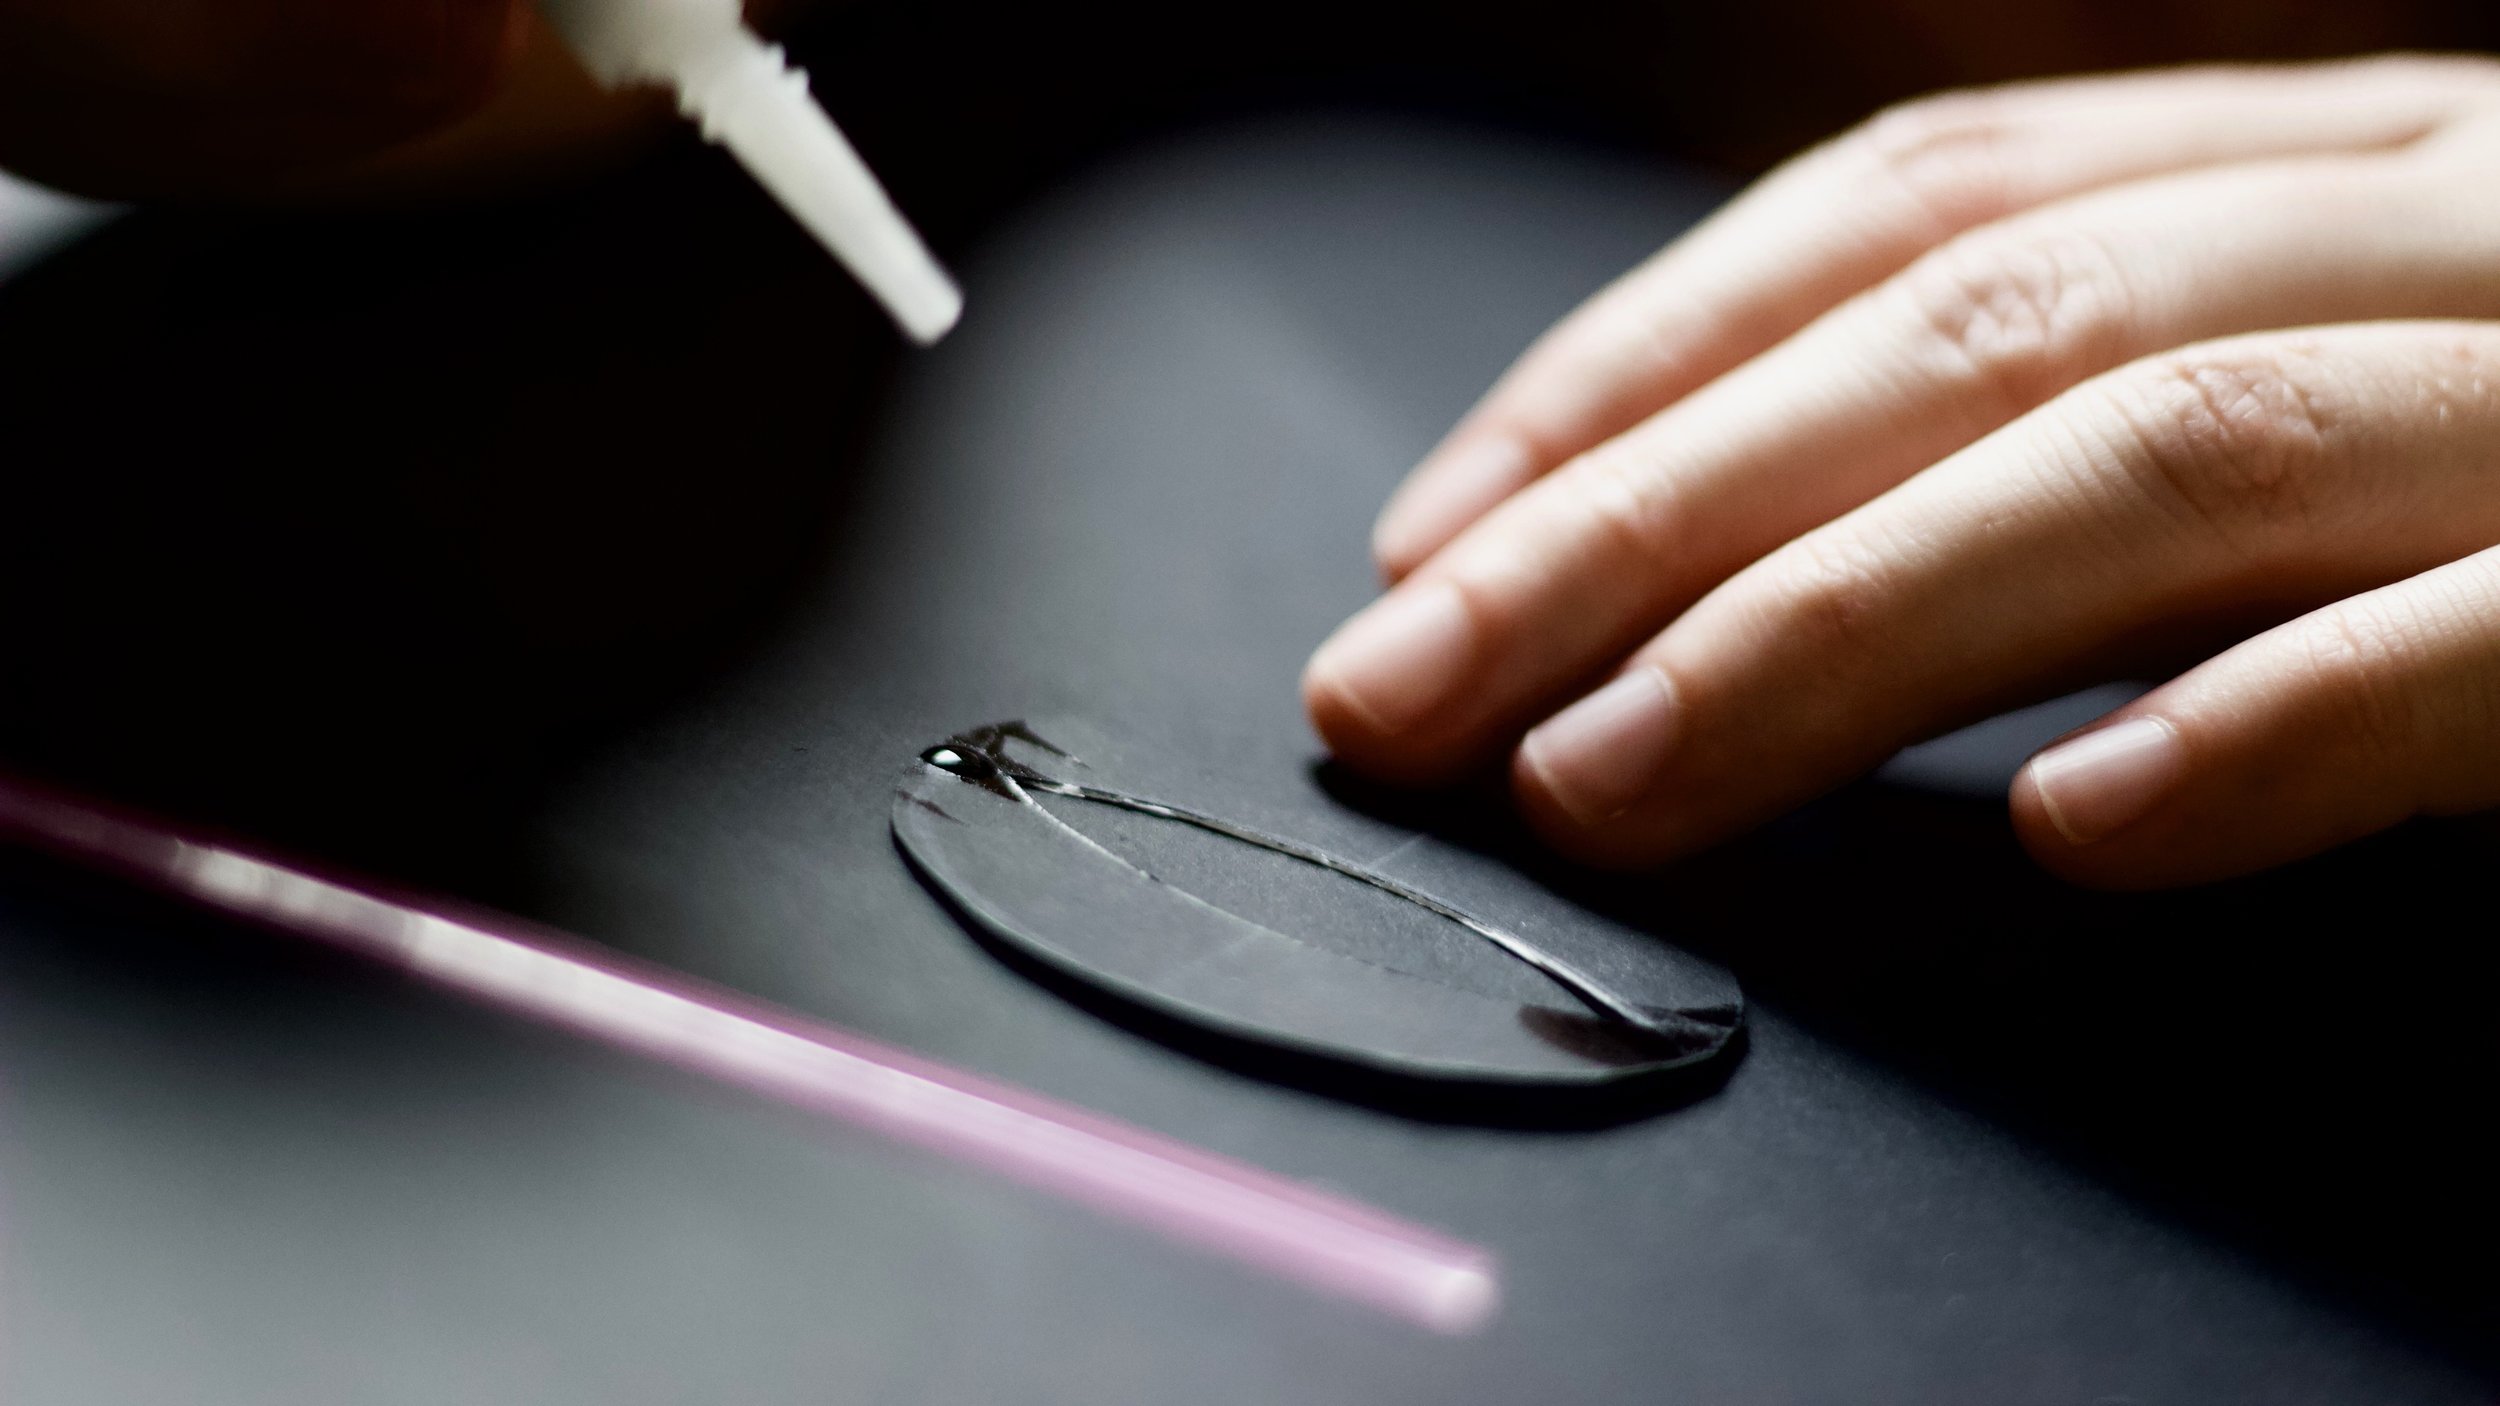
Cut out your circle, and cut out the middle of the aperture disk.


Glue fishing line to the top and bottom of the disk.


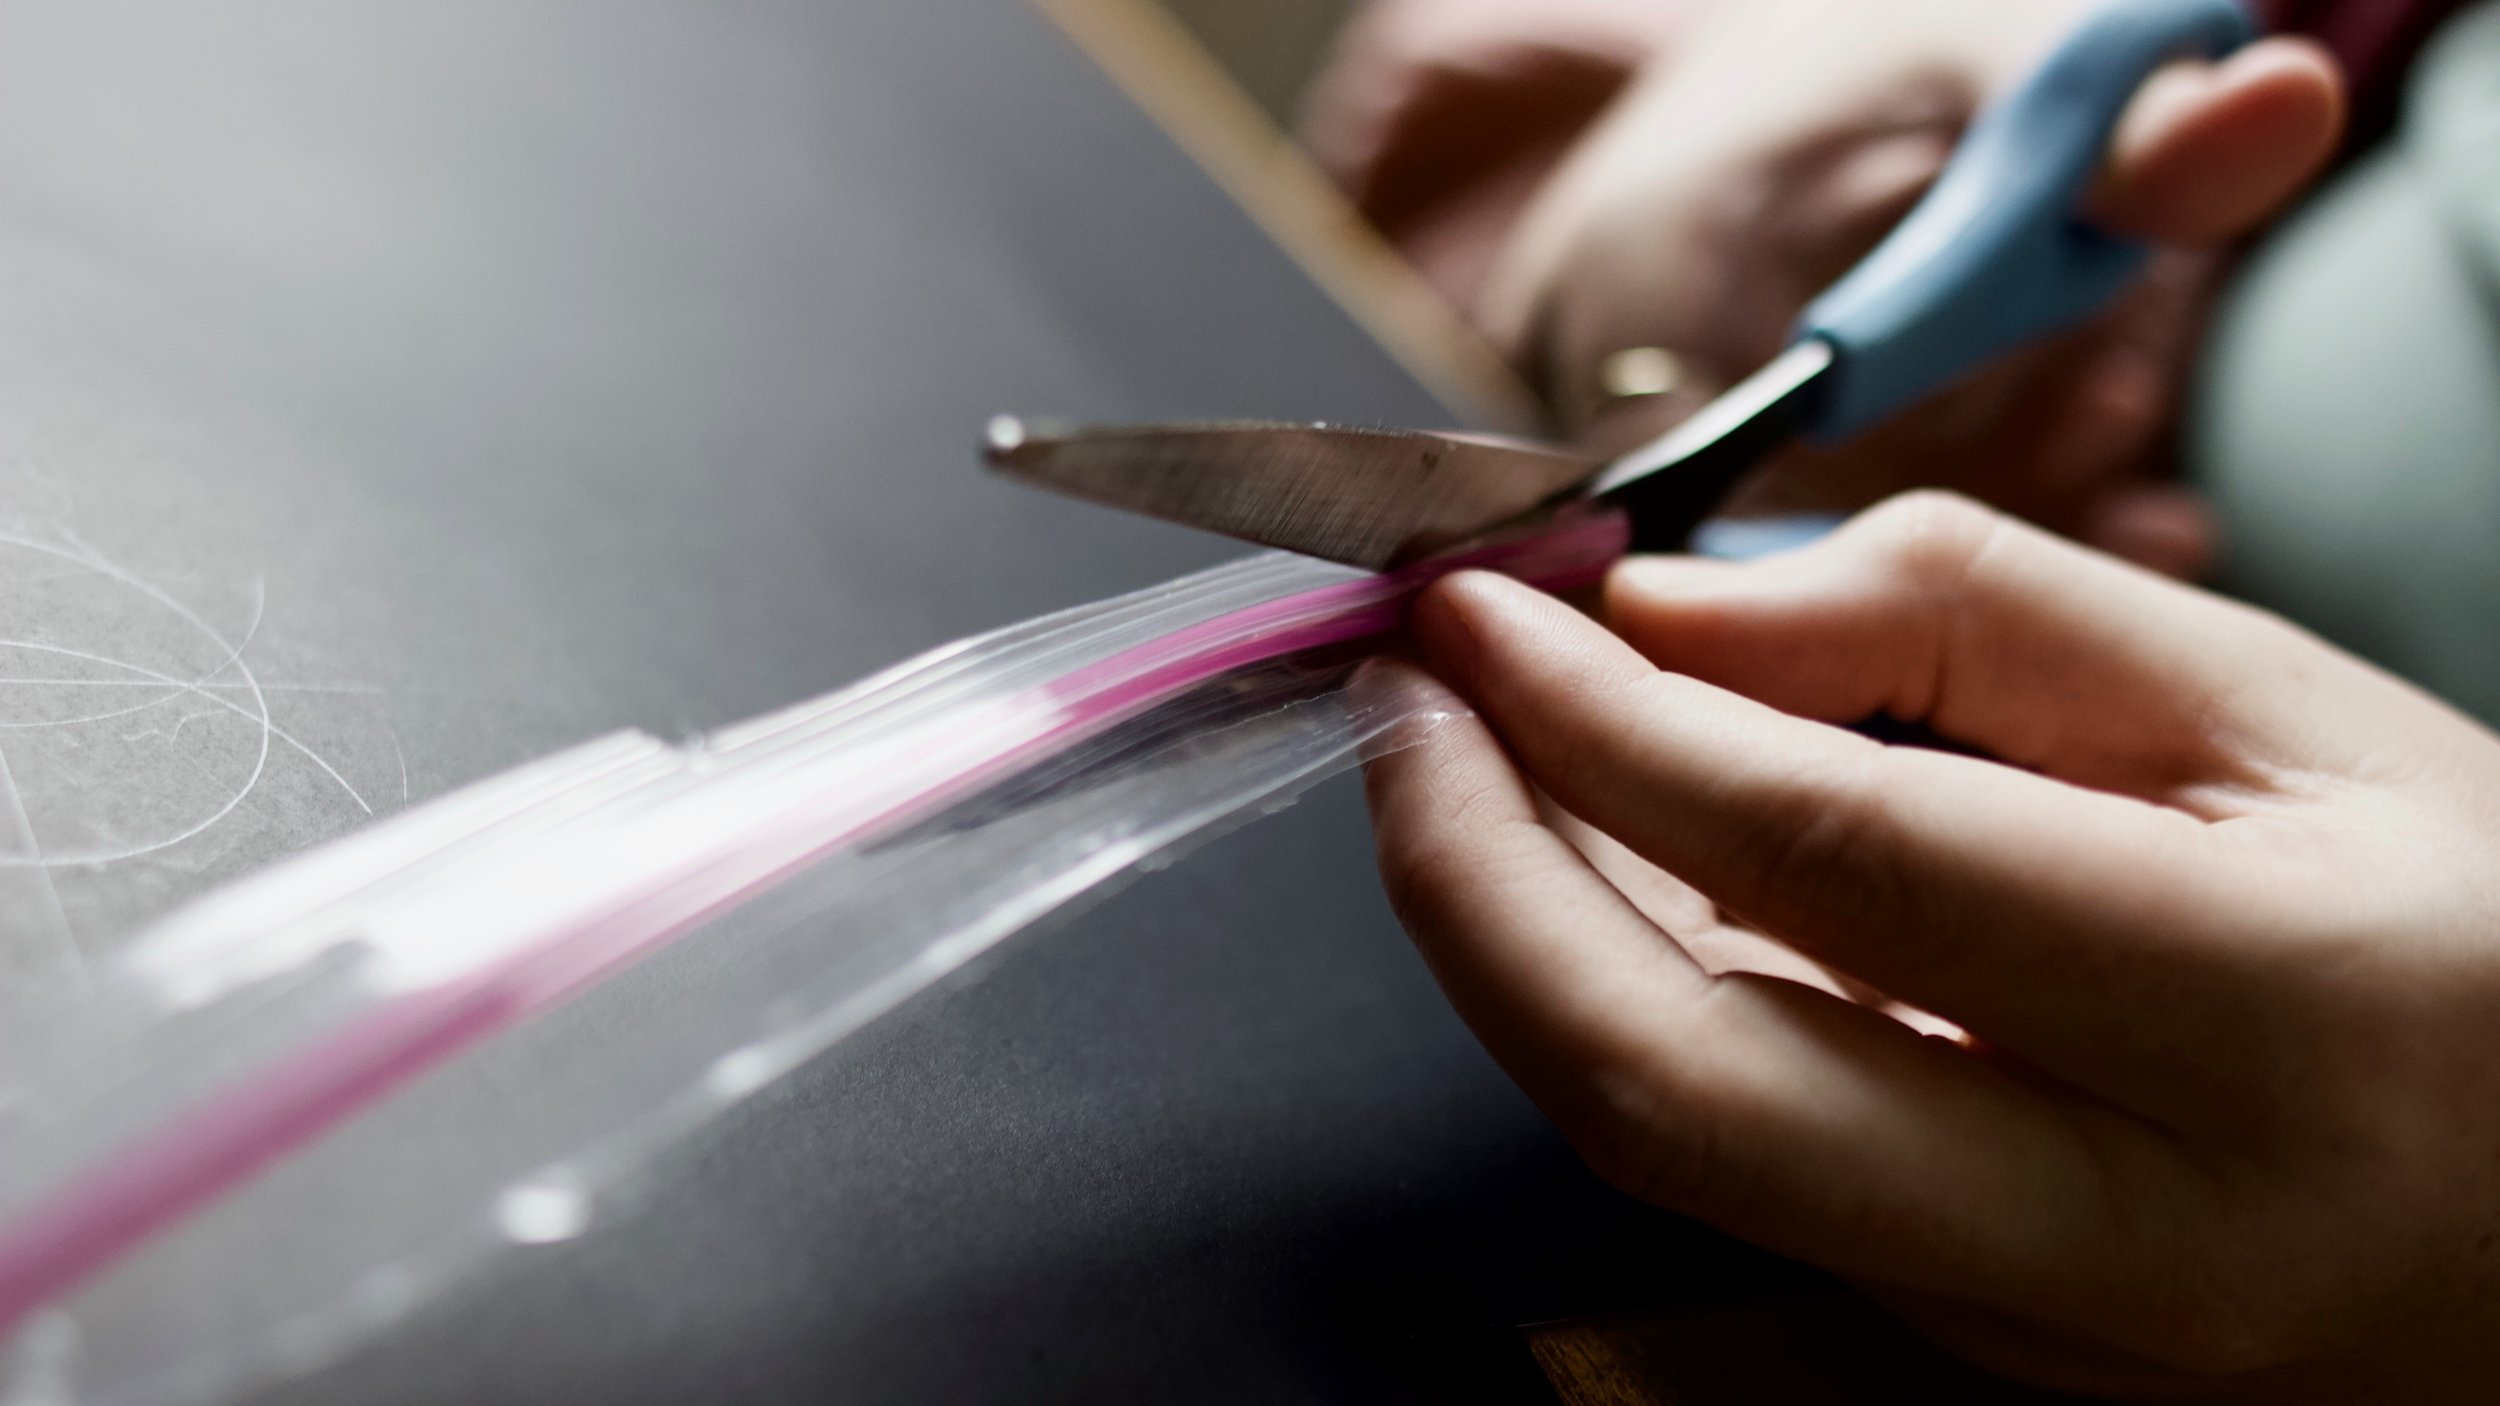
Note: you can try using multiple things as filaments besides fishing line. We tried strips of a ziplock bag seal which produced some cool distortion on camera.

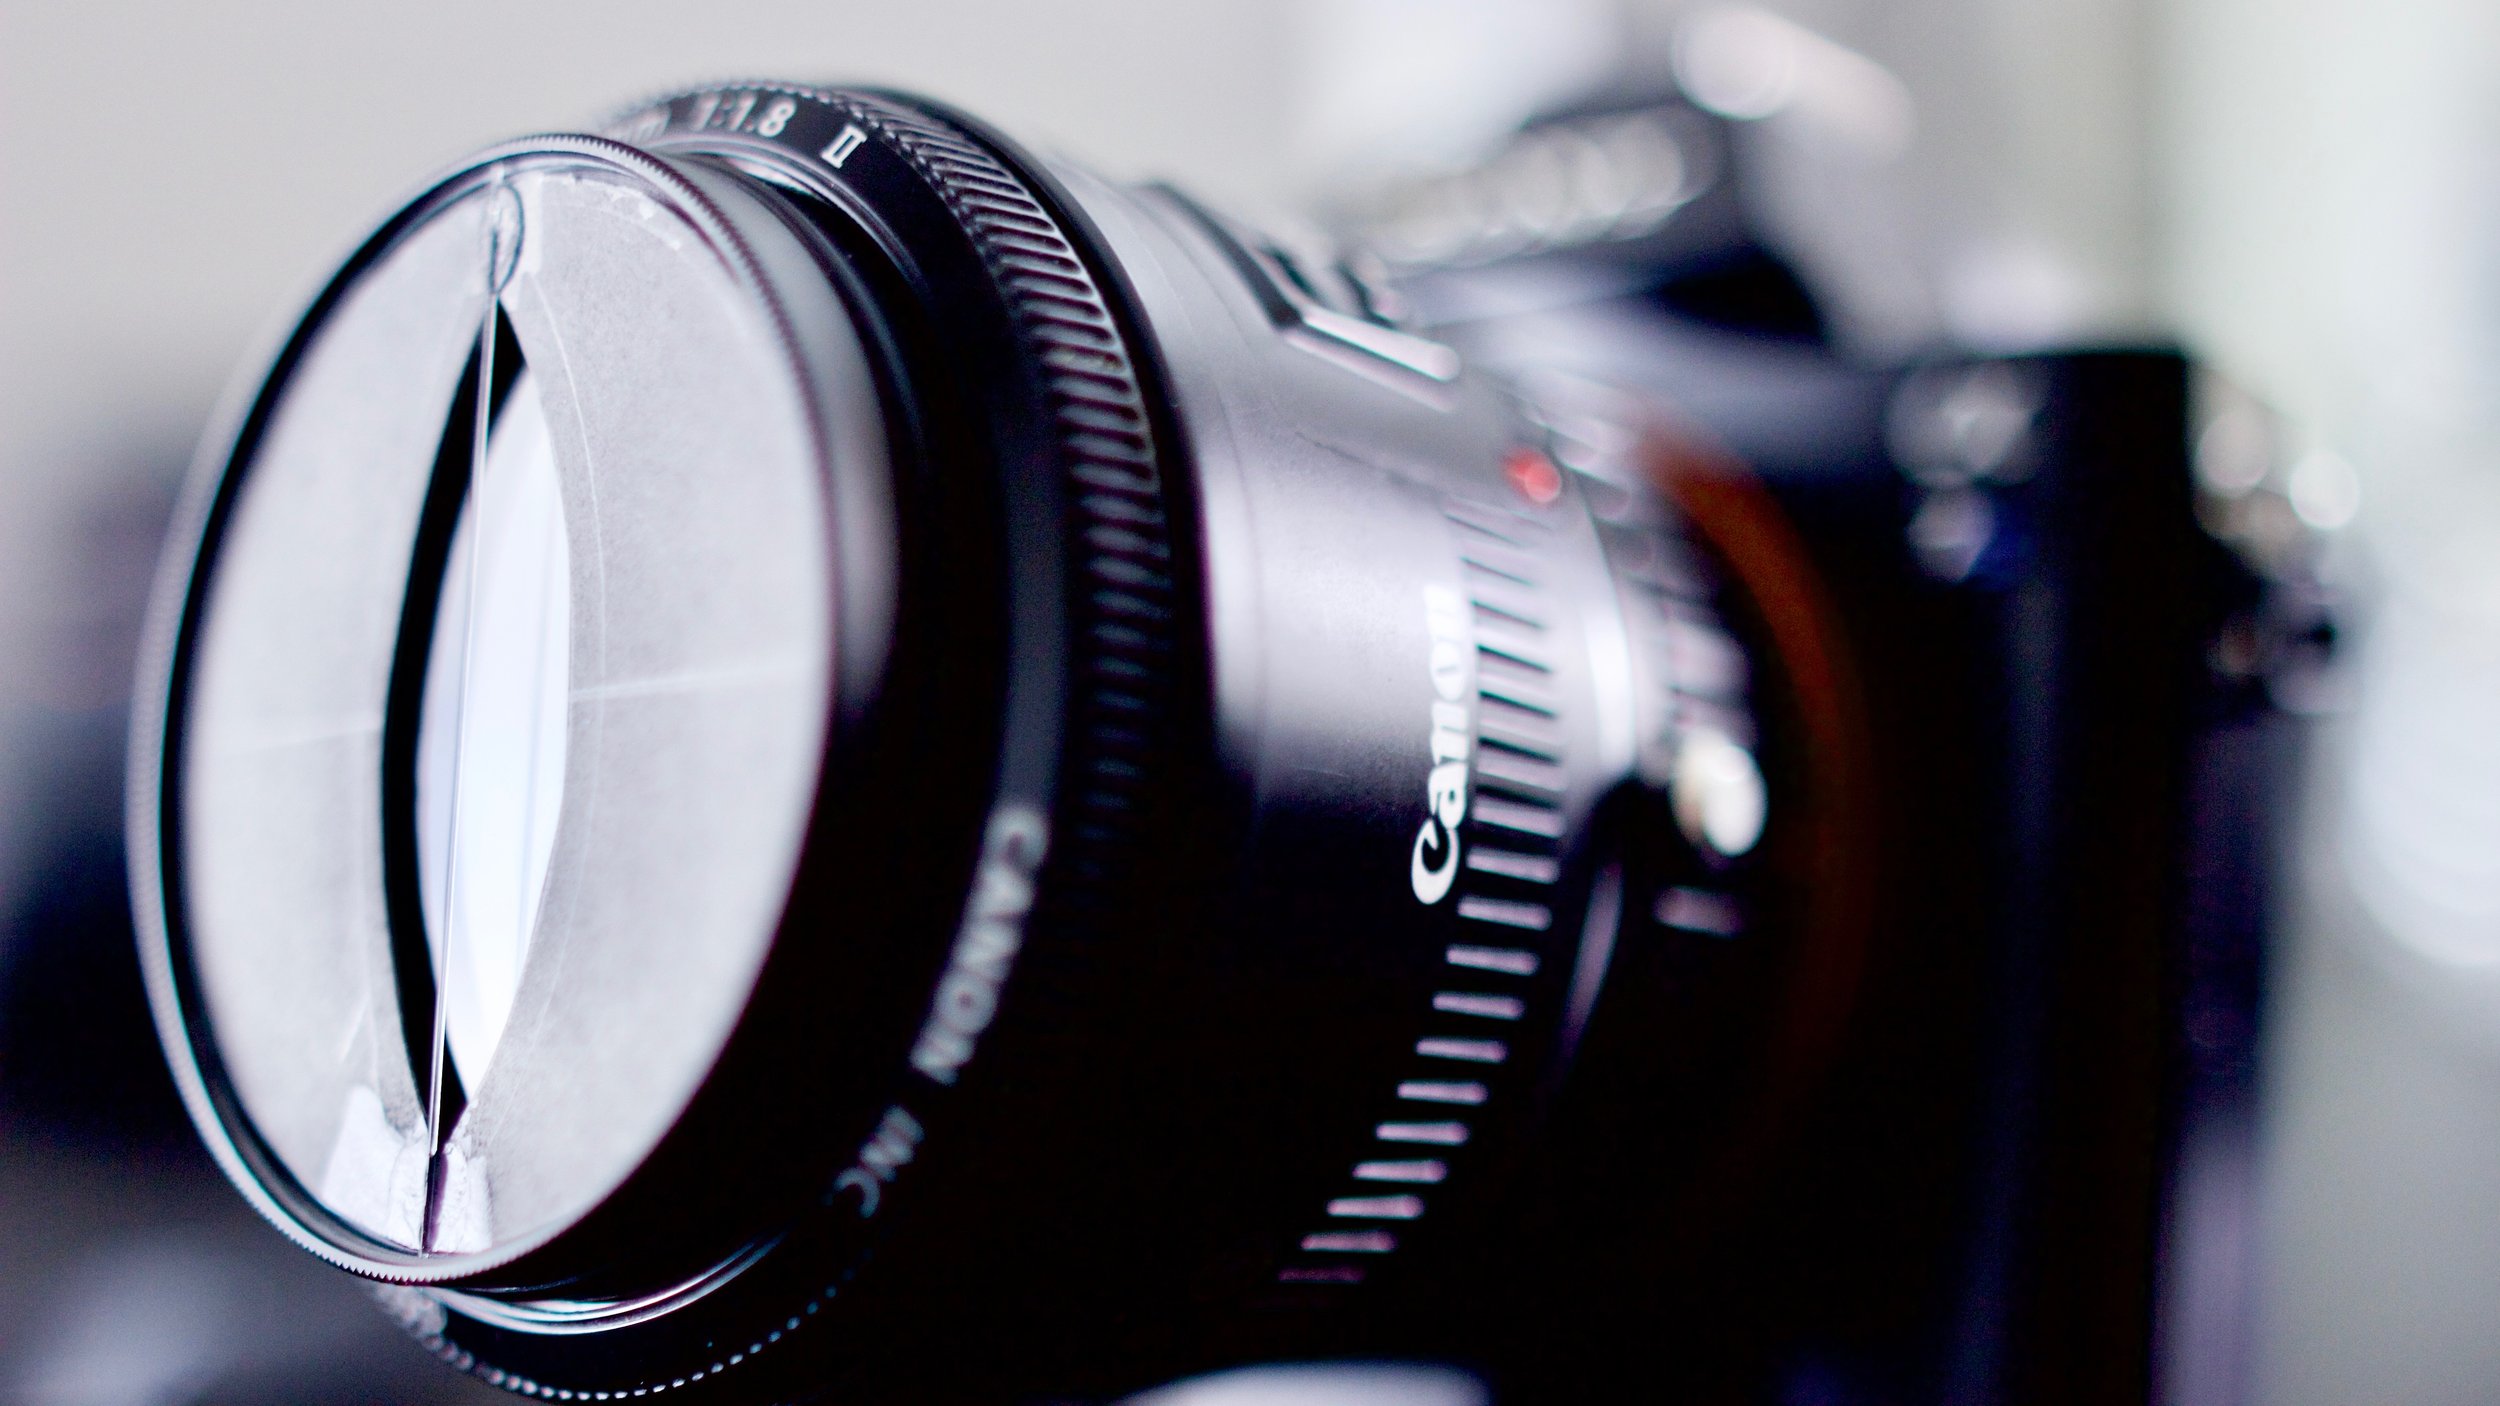
Screw the the clear filter on to your camera. We used a 50mm lens. Using small rolls of tape adhere your aperture disk to the exterior of the clear filter. By adhering the aperture disks with tape you can easily swap them out.


To see the aperture disks in action check out the short video samples below! And if you try this out for yourself tag us on instagram! @echocinematics - Also let us know what you think of the music it's an Echo Original!